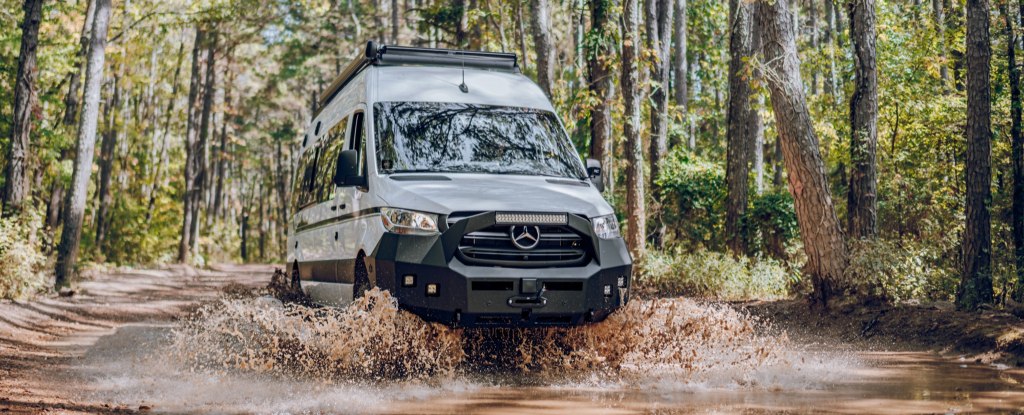
Converting a Sprinter van into a comfortable and functional living space is an exciting endeavor, but it requires careful planning and consideration. From setting a budget to choosing the right layout and features, there are many factors to consider when planning your Sprinter van conversion. In this ultimate guide, we'll walk you through the key steps to ensure that your conversion project is a success.

Step 1: Set a Budget Before you begin your conversion project, it's essential to set a realistic budget. Determine how much you can afford to spend on your van, as well as on the conversion itself. Keep in mind that costs can quickly add up, so be sure to allocate funds for unexpected expenses.
Step 2: Choose Your Van Once you have a budget in mind, it's time to choose your Sprinter van. Consider factors such as the length and height of the van, as well as the year and mileage. Look for a van that is in good condition and has a clean title. If possible, have a mechanic inspect the van before making a purchase.
Step 3: Determine Your Layout The layout of your Sprinter van will have a significant impact on its functionality and livability. Consider your specific needs and preferences when designing your layout. Do you need a dedicated workspace? How much storage do you require? Will you be traveling solo or with a partner? Answer these questions to help guide your layout decisions.
Step 4: Choose Your Features Once you have a layout in mind, it's time to choose the features you want to include in your conversion. Consider essential features such as a bed, kitchen, and bathroom, as well as additional features like a dining area, entertainment system, or outdoor shower. Prioritize your must-have features and consider which ones you can live without if necessary.
Step 5: Plan Your Electrical System A reliable electrical system is essential for powering your van's appliances and devices. Determine your power needs and choose a battery system that can meet those needs. Consider factors such as the type of batteries, the size of your solar panel array, and the number of outlets and USB ports you'll need.
Step 6: Plan Your Plumbing System If you plan to include a bathroom or kitchen in your conversion, you'll need to plan your plumbing system carefully. Determine your water needs and choose a fresh-water tank and gray-water tank that can accommodate those needs. Consider factors such as the type of toilet, shower, and sink you'll use, as well as how you'll manage waste.
Step 7: Choose Your Materials When it comes to choosing materials for your conversion, durability and functionality should be top priorities. Look for materials that are lightweight, easy to clean, and resistant to moisture. Consider using recycled or sustainable materials whenever possible to reduce your environmental impact.
Step 8: Hire Professionals (If Necessary). While it is possible to do a Sprinter van conversion yourself, some tasks may require the expertise of professionals. If you're not comfortable with electrical work, plumbing, or carpentry, consider hiring professionals to handle those aspects of the conversion. Look for experienced contractors who specialize in van conversions.
Step 9: Create a Timeline Creating a timeline for your conversion project can help you stay on track and avoid delays. Break your project down into smaller tasks and assign realistic deadlines for each one. Be sure to factor in time for unexpected setbacks or challenges.
Step 10: Enjoy the Journey Finally, remember to enjoy the journey of converting your Sprinter van. While the process can be challenging at times, it's also an opportunity to create a space that is uniquely yours. Take pride in your work and don't be afraid to make changes or adjustments along the way.
Conclusion
Planning a Sprinter van conversion can be a daunting task, but by following these key steps, you can ensure that your project is a success. From setting a budget to choosing your features and creating a timeline, careful planning is essential for creating a comfortable and functional living space on wheels. With a little patience and perseverance, you'll be ready to hit the road in your very own converted Sprinter van.
FAQs
-
How long does a Sprinter van conversion typically take? The length of a Sprinter van conversion project can vary depending on the complexity of the design and the availability of materials and labor. On average, a conversion can take anywhere from a few weeks to several months to complete.
-
Can I insure my converted Sprinter van? Yes, it is possible to insure a converted Sprinter van. However, you may need to work with a specialty insurance provider who has experience insuring converted vehicles. Be sure to disclose all modifications and features of your van when obtaining insurance.
-
How do I register my converted Sprinter van? The process for registering a converted Sprinter van varies by state and country. In general, you'll need to provide proof of ownership, as well as documentation of any modifications made to the vehicle. Check with your local DMV or equivalent agency for specific requirements.
-
Can I park my converted Sprinter van anywhere? While a converted Sprinter van offers the freedom to travel and explore, it's important to be aware of parking regulations and restrictions. Some cities and towns have laws against sleeping in vehicles overnight, while others may have designated areas for van camping. Always research local regulations before parking your van.
-
How do I maintain my converted Sprinter van? Regular maintenance is essential for keeping your converted Sprinter van in good condition. This includes routine tasks like oil changes and tire rotations, as well as more specific maintenance related to your van's unique features and systems. Keep a maintenance schedule and budget for repairs and upgrades as needed.


